Shop workflow
Print proof approval checklist for customers and shops
Review content, size, crop, color expectations, finishing, and revision history before approving a proof that authorizes real production cost.
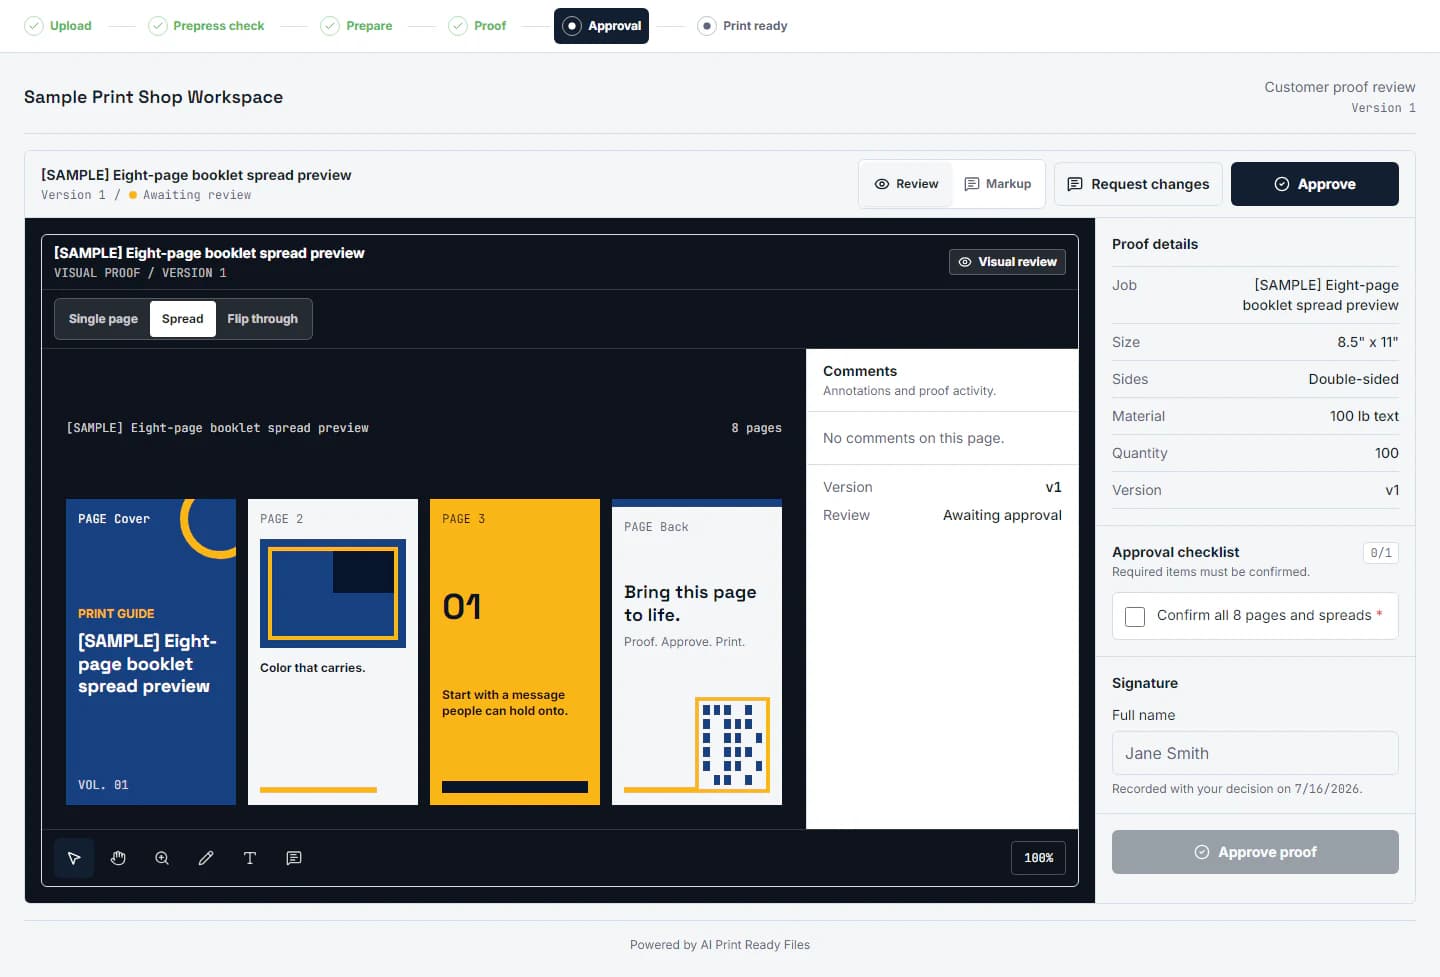
A proof approval is a production decision, not a casual “looks good.” It should identify the exact revision, show the artwork in the relevant page or product context, and make clear which details the customer is responsible for checking.
The best approval flow is easy for the customer and specific for the shop. One current proof, visible comments, an explicit approve-or-request-changes choice, and a durable record prevent the ambiguity that grows in long email threads.
Verify content before production details
Read every name, phone number, URL, date, price, address, legal line, and call to action. Test QR codes from the proof at a realistic size. Confirm spelling and punctuation rather than assuming approved source copy was placed correctly.
For multipage work, check page order, covers, blanks, spreads, crossovers, and orientation. A flip-through view catches sequence problems that isolated thumbnails can hide. Customers should know whether they are viewing single pages or printer spreads.
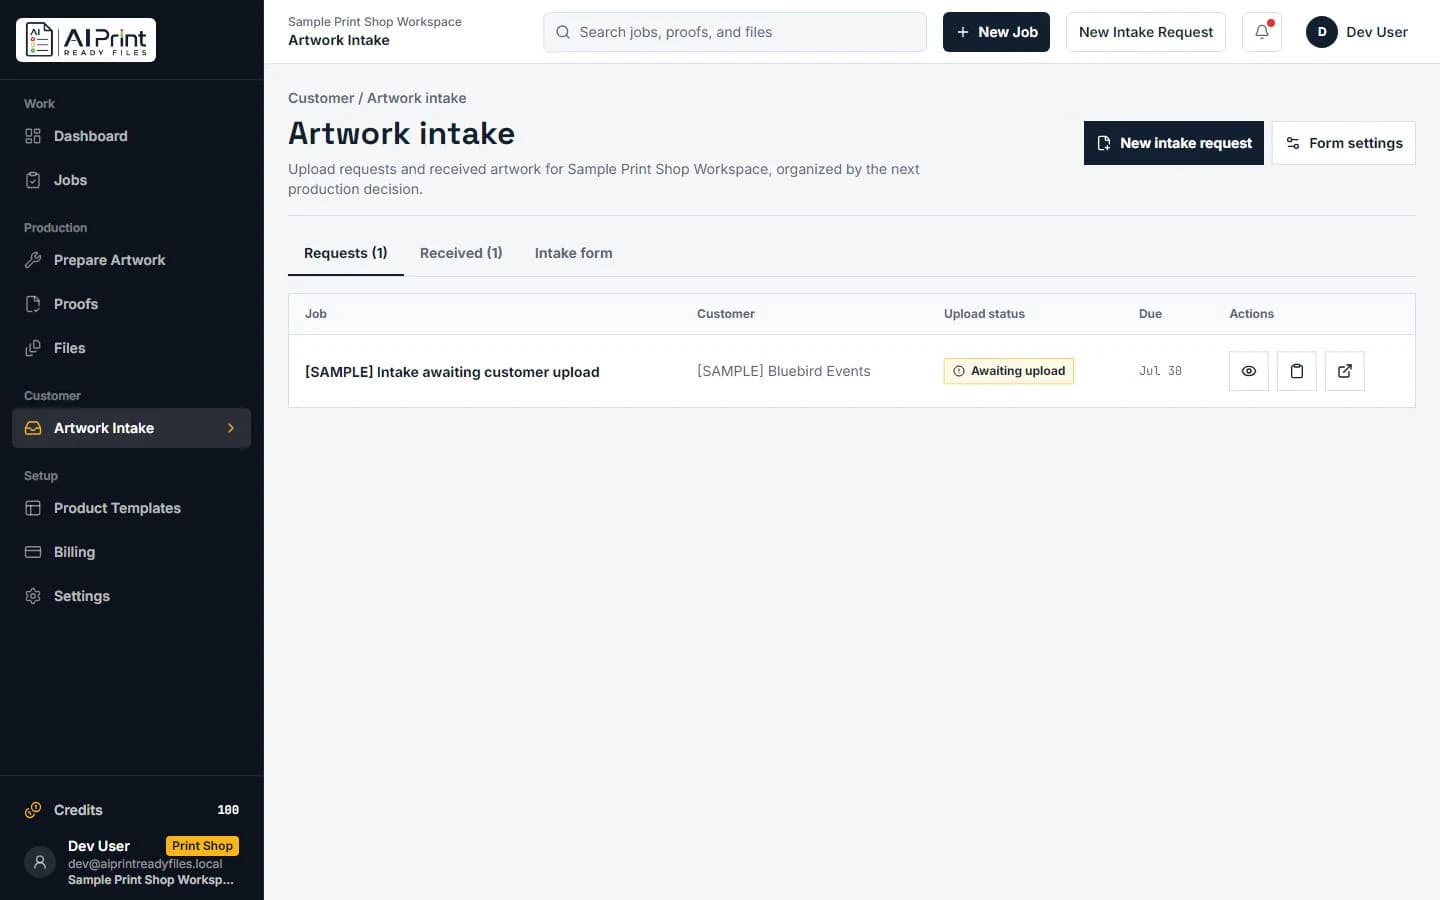
Related production step: Explore print-shop proofing. Collect comments and approval on one current revision.
Review crop, scale, and finishing context
Check that important content stays inside safe areas and away from folds, binding, grommets, hems, pockets, or wrap zones. Confirm the final dimensions and quantity shown with the proof. A visually correct design at the wrong size is still the wrong job.
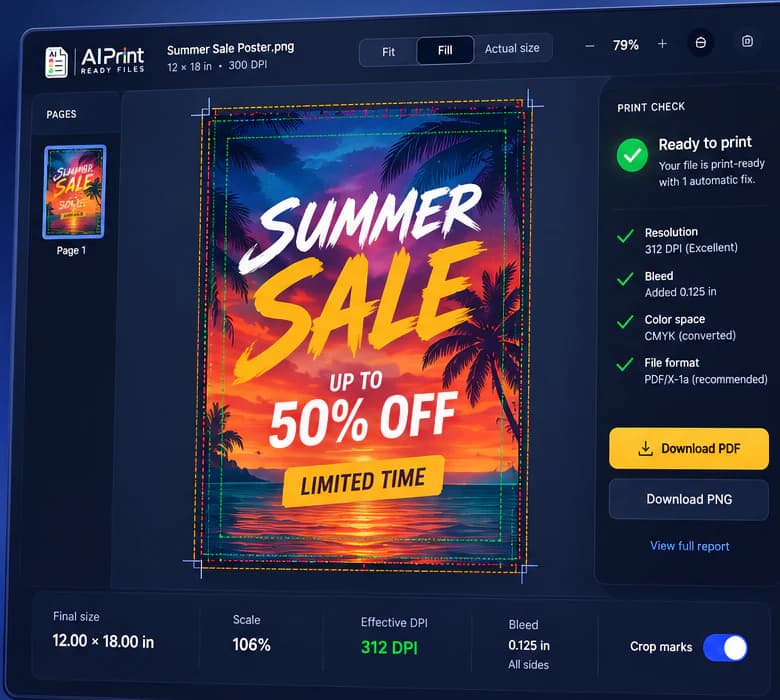
Show crop and bleed guides without letting the guides obscure the artwork. For front-and-back, multipage, or variable pieces, make navigation unmistakable. The approval must apply to a named revision, not whichever attachment someone happens to open later.
Related production step: Review bleed and safe areas. Understand the boundaries shown on a proof.
Set honest color expectations
A screen proof is strong for content, layout, crop, and sequence. It is not a contract for exact physical color unless the workflow includes a calibrated contract proof. State how paper, substrate, coating, lighting, and device can affect the result.
When color is critical, identify brand values, spot colors, profiles, or approved physical samples. Record exceptions and customer decisions in the job instead of leaving them in a private inbox.
Related production step: Technical preflight vs. proofing. Separate file checks from customer authorization.
Build a handoff the next person can verify
A production-ready handoff should contain one clearly named current file, the finished dimensions, the expected bleed, and a short record of what was checked. If a warning remains, describe the decision instead of hiding it. For example: the customer accepted 170 effective PPI because the banner will be viewed from across a room. That note is more useful than a folder containing five unexplained exports.
Keep the editable source separate from the approved output. The source is where future changes belong; the approved PDF, PNG, TIFF, SVG, or machine file is the artifact that moves into production. When a revision arrives, create a new version and preserve the approval trail. This small discipline prevents an old attachment, an unapproved crop, or a mystery color conversion from becoming the file that gets printed. It also gives estimating, customer service, prepress, and production the same answer when a job returns.
Related production step: Print Shop workspace. Connect approvals to jobs, intake, and production.
Production checklist
Put this into practice
- 1Open the latest named proof revision and ignore superseded attachments.
- 2Check all copy, contact information, dates, prices, and QR codes.
- 3Review size, crop, safe areas, pages, sides, and finishing zones.
- 4Read the color and material expectations.
- 5Approve explicitly or request specific changes tied to the proof.
Frequently asked questions
Does a print-ready check replace the printer's proof?
No. Preflight reduces technical risk, while the printer's proof remains the final approval for stock, ink, finishing, placement, and production-specific tolerances.
Should I keep the original artwork?
Yes. Keep the untouched source and create a separate prepared output so a crop, color conversion, or bleed extension can be revised without damaging the original.
Check the actual artwork
Turn the article into a production decision.
Run a free scan, choose the finished size, and review DPI, bleed, crop, color, transparency, and file integrity before the job reaches a printer.
Run a free scan