Artwork prep
How to make an AI-generated image print ready
Turn ChatGPT, Midjourney, Stable Diffusion, or other generated artwork into a file a commercial printer can inspect and produce.
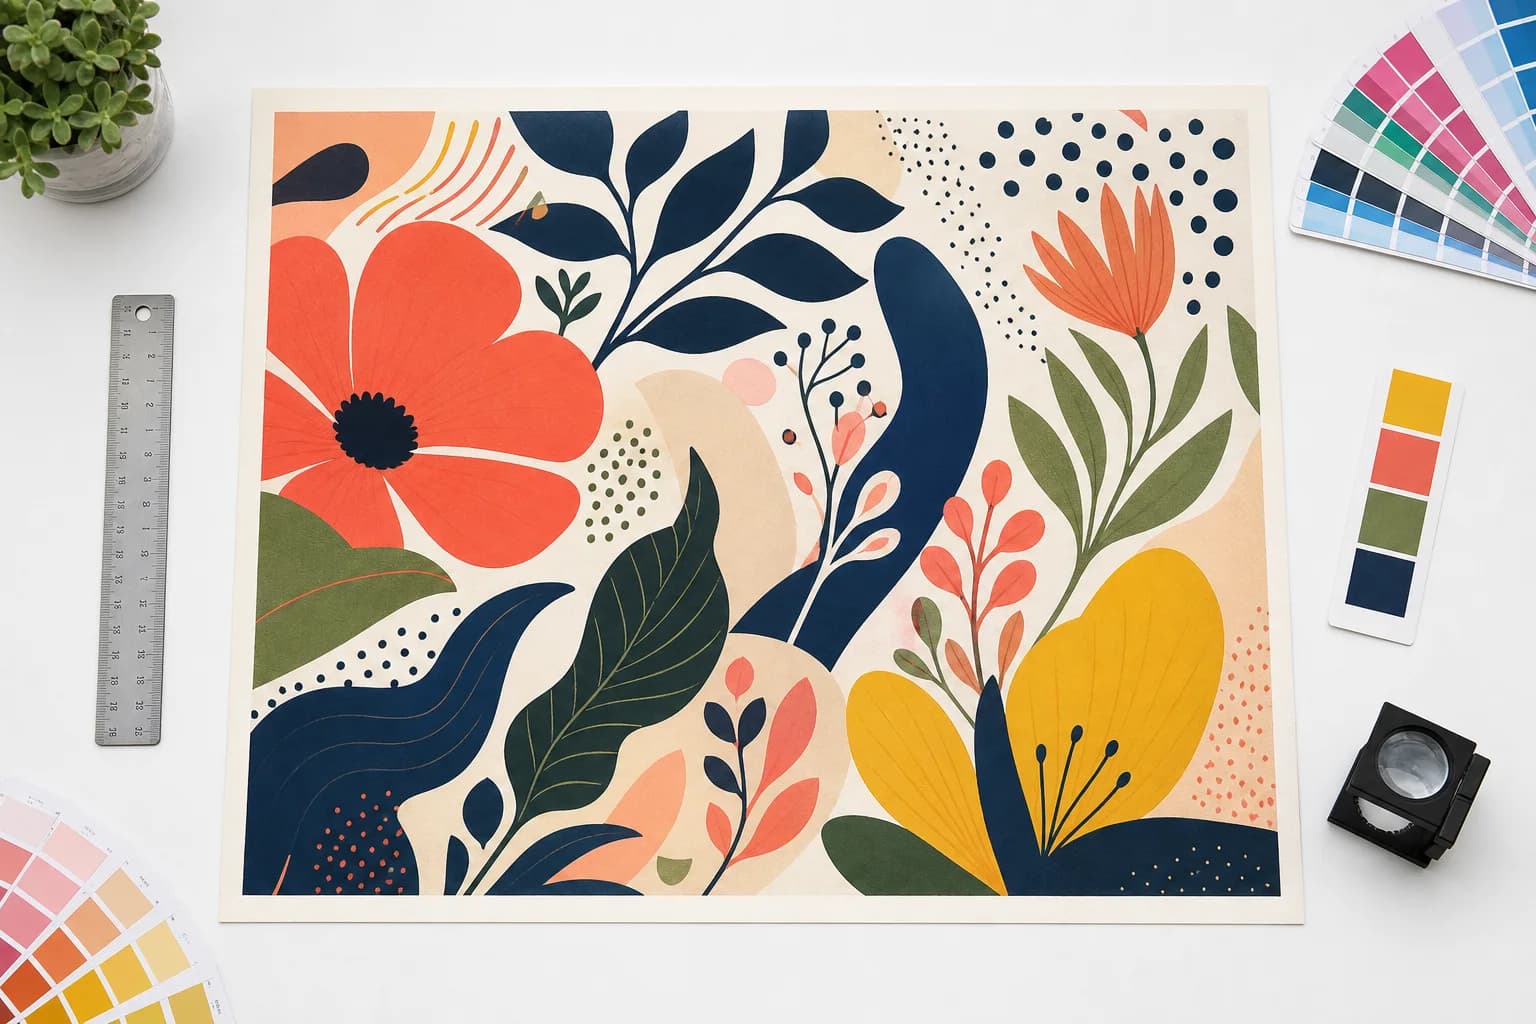
An AI image can look finished on a monitor while still being a weak print file. The generator solved a visual problem, not the production problem. A printer still needs a finished size, enough pixels at that size, safe edges, predictable color handling, and a file that opens without missing fonts or unsupported effects.
The reliable approach is to choose the product first, inspect the source second, and apply only the fixes the job needs. That sequence protects the artwork from unnecessary conversion while giving the printer a clear, testable handoff.
Start with pixels and the final physical size
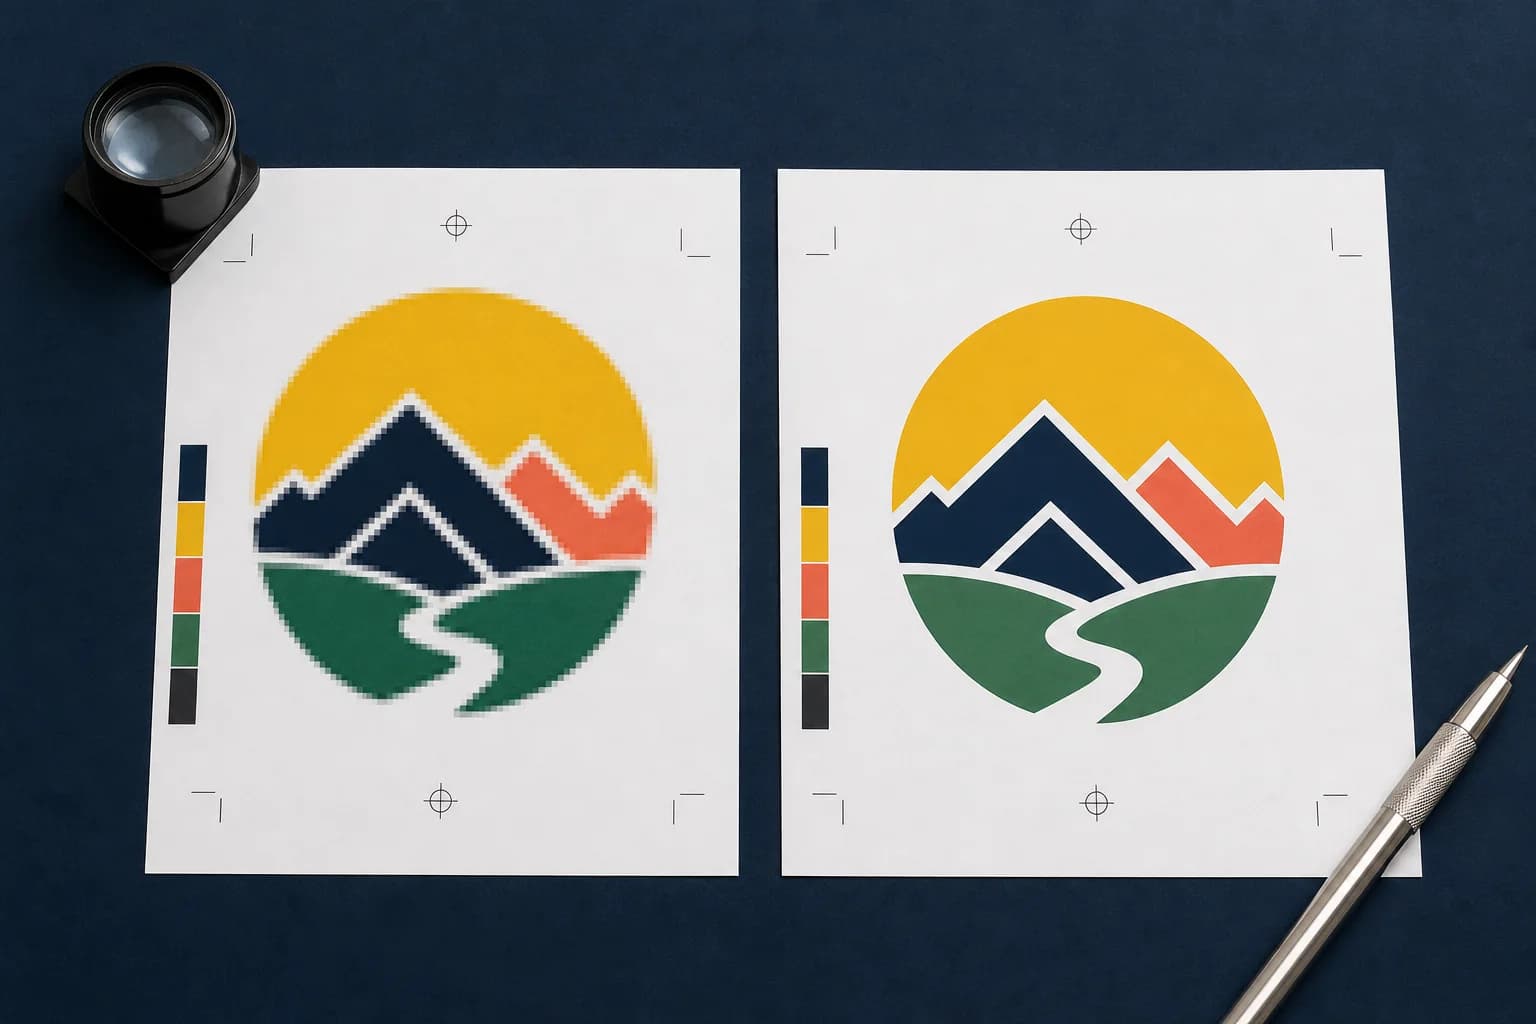
Do not begin by changing the DPI number in image metadata. Record the source pixel dimensions, then divide those pixels by the intended width and height in inches. A 2400-pixel-wide image has 300 pixels per inch at eight inches wide, 150 at sixteen inches, and only 100 at twenty-four inches. The content did not change; the intended output did.
Close-viewed cards and brochures generally need more detail than a banner seen from across a room. Treat 300 PPI as a useful high-quality target, not a magic stamp. If the result is low, decide among a smaller print, a carefully reviewed upscale, or new source artwork. Simply typing 300 into a dialog does not create detail.
Related production step: Run a free preflight check. Inspect the source before choosing an upscale or export.
Inspect edges, lettering, and generated details
AI artwork often fails at the exact places a production operator studies: small text, logos, fingers, repeating patterns, hard product edges, and objects near the crop. Zoom in at the expected printed scale. Rebuild important words and marks as real type or vector artwork instead of trusting generated lettering.
If the design prints to the edge, it needs image beyond the trim. Extend or rebuild the background deliberately; do not stretch the whole composition. Keep faces, QR codes, dates, prices, and contact details inside the safe area so normal trimming variation cannot damage the message.
Related production step: Prepare an AI image for print. Move from generated artwork to a checked output.
Export for the actual printer
Ask for the printer's template or upload requirements before choosing PDF, PNG, TIFF, or another format. Some print-on-demand platforms prefer RGB raster files and handle conversion internally. Many commercial shops prefer a press PDF with an output intent. The correct format is the one the receiving workflow requests.
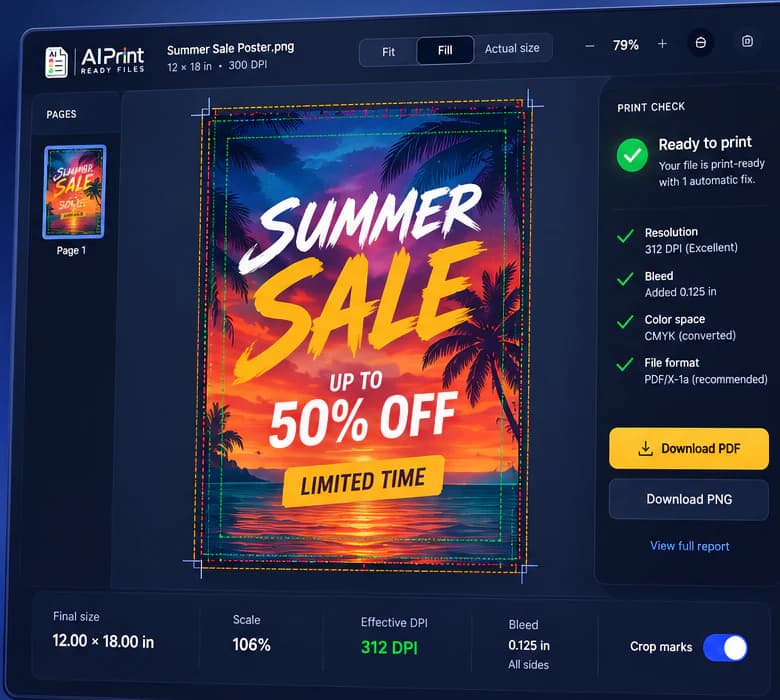
Run a final preflight after export, not only before it. The export step can flatten transparency, downsample images, omit fonts, change page boxes, or add marks the provider does not want. Verify finished dimensions, effective resolution, bleed, crop, color assumptions, and file integrity on the actual delivery file.
Related production step: Read the complete AI printing guide. Understand size, bleed, crop, and color decisions together.
Build a handoff the next person can verify
A production-ready handoff should contain one clearly named current file, the finished dimensions, the expected bleed, and a short record of what was checked. If a warning remains, describe the decision instead of hiding it. For example: the customer accepted 170 effective PPI because the banner will be viewed from across a room. That note is more useful than a folder containing five unexplained exports.
Keep the editable source separate from the approved output. The source is where future changes belong; the approved PDF, PNG, TIFF, SVG, or machine file is the artifact that moves into production. When a revision arrives, create a new version and preserve the approval trail. This small discipline prevents an old attachment, an unapproved crop, or a mystery color conversion from becoming the file that gets printed. It also gives estimating, customer service, prepress, and production the same answer when a job returns.
Related production step: Start with an 18 x 24 poster preset. Check a common poster size without guessing.
Production checklist
Put this into practice
- 1Choose the printed product and finished dimensions before editing the image.
- 2Calculate effective resolution from source pixels and final inches.
- 3Rebuild important AI-generated text, logos, and fragile details.
- 4Add the printer's required bleed and keep critical content inside the safe area.
- 5Export to the requested format and preflight the exported file.
Frequently asked questions
Does a print-ready check replace the printer's proof?
No. Preflight reduces technical risk, while the printer's proof remains the final approval for stock, ink, finishing, placement, and production-specific tolerances.
Should I keep the original artwork?
Yes. Keep the untouched source and create a separate prepared output so a crop, color conversion, or bleed extension can be revised without damaging the original.
Check the actual artwork
Turn the article into a production decision.
Run a free scan, choose the finished size, and review DPI, bleed, crop, color, transparency, and file integrity before the job reaches a printer.
Run a free scan