Artwork prep
What DPI do you need for common print sizes?
Calculate print resolution for cards, flyers, posters, signs, and banners from the pixels actually available at the final size.
The useful resolution question is not “Is this a 300 DPI file?” It is “How many source pixels are available for each inch at the size we will print?” That distinction explains why the same image can look sharp on a postcard and soft on a poster.
Use effective pixels per inch as a planning measurement, then judge the number against viewing distance, material, image content, and the printer's production requirements. This produces better decisions than changing a metadata field and hoping the file improved.
Use one calculation for every product
Divide pixel width by printed width in inches, then repeat for height. A 3600 by 2400 pixel photograph placed at 12 by 8 inches is 300 PPI in both directions. At 24 by 16 inches it is 150 PPI. If cropping enlarges the image inside the frame, calculate from the placed image size rather than the page size.
The lower axis controls the practical limit. A square image forced to fill a wide banner may lose pixels to crop even when the source looks large. Check the final placement, not only the original dimensions. A preparation tool should update effective resolution as scale and crop change.
Related production step: Use the DPI calculator. Calculate effective resolution from pixels and inches.
Match resolution to distance and content
Business cards, menus, labels, and brochures are inspected at arm's length, so small type and fine lines benefit from high effective resolution. Posters can tolerate less when viewed from several feet away. Large signs and banners are often designed around distance, bold shapes, and large lettering rather than close-up photographic detail.
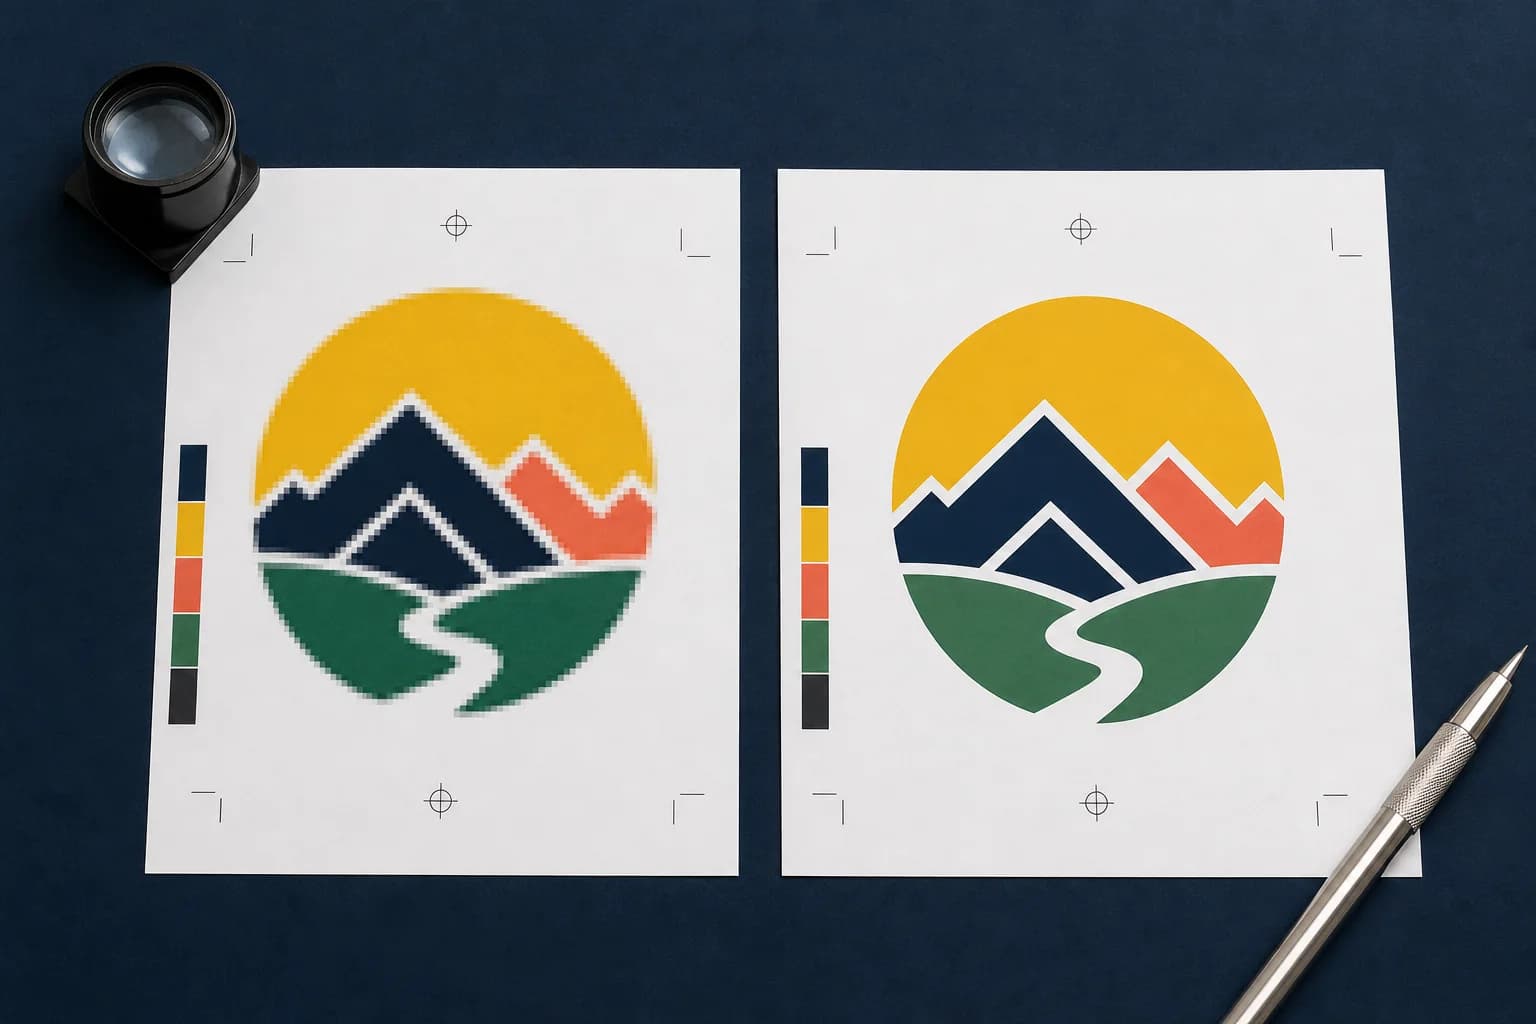
Image content matters too. A textured photograph may hide mild softness better than a small QR code, fine black rule, or detailed product label. Keep logos and type as vectors whenever possible. Do not use a low raster target as permission to rasterize elements that can remain sharp.
Related production step: Check an image for 300 DPI output. See whether the source can meet a close-viewed target.
Know what upscaling can and cannot do
A good upscale can create smoother edges and plausible detail when the source is reasonably close to the target. It cannot recover an accurate face, product label, or letterform that never existed. Inspect the result at printed scale and compare it with the original before approving it.
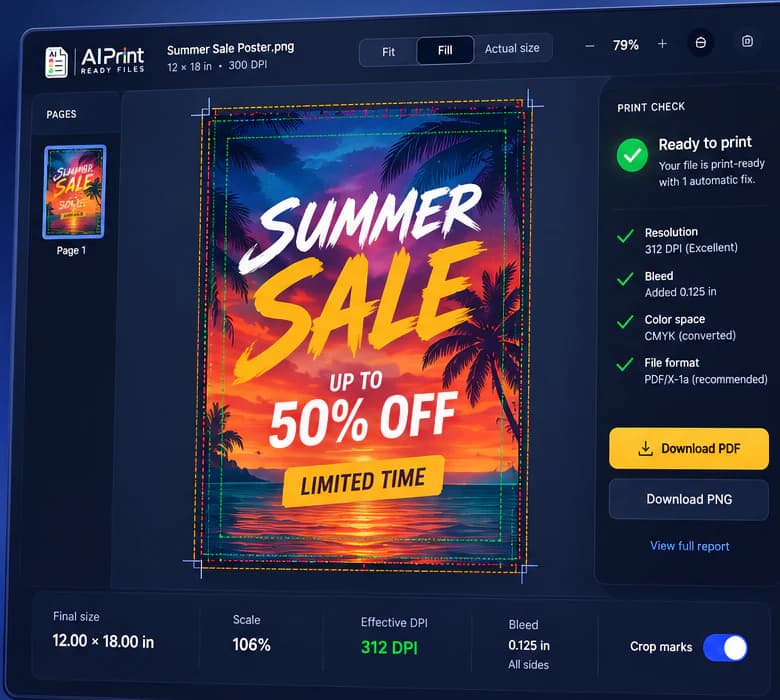
If the gap is large, smaller output or new artwork is usually safer. Record the original and upscaled dimensions in the handoff so the operator understands what changed. An honest warning is more valuable than a green badge based only on a rewritten DPI tag.
Related production step: Understand DPI and PPI. Learn why the terms are often mixed in print conversations.
Build a handoff the next person can verify
A production-ready handoff should contain one clearly named current file, the finished dimensions, the expected bleed, and a short record of what was checked. If a warning remains, describe the decision instead of hiding it. For example: the customer accepted 170 effective PPI because the banner will be viewed from across a room. That note is more useful than a folder containing five unexplained exports.
Keep the editable source separate from the approved output. The source is where future changes belong; the approved PDF, PNG, TIFF, SVG, or machine file is the artifact that moves into production. When a revision arrives, create a new version and preserve the approval trail. This small discipline prevents an old attachment, an unapproved crop, or a mystery color conversion from becoming the file that gets printed. It also gives estimating, customer service, prepress, and production the same answer when a job returns.
Related production step: Review poster file requirements. Connect resolution to a real product.
Production checklist
Put this into practice
- 1Record the source width and height in pixels.
- 2Choose the finished print dimensions in inches.
- 3Divide pixels by inches for both axes and use the lower result.
- 4Recalculate after any crop, fit, fill, or placement change.
- 5Compare the result with viewing distance and the printer's specification.
Frequently asked questions
Does a print-ready check replace the printer's proof?
No. Preflight reduces technical risk, while the printer's proof remains the final approval for stock, ink, finishing, placement, and production-specific tolerances.
Should I keep the original artwork?
Yes. Keep the untouched source and create a separate prepared output so a crop, color conversion, or bleed extension can be revised without damaging the original.
Check the actual artwork
Turn the article into a production decision.
Run a free scan, choose the finished size, and review DPI, bleed, crop, color, transparency, and file integrity before the job reaches a printer.
Run a free scan