Guide
Bleed, trim, and safe zone
Understand bleed, trim, and safe zone so artwork survives cutting, edge shifts, and printer file checks.
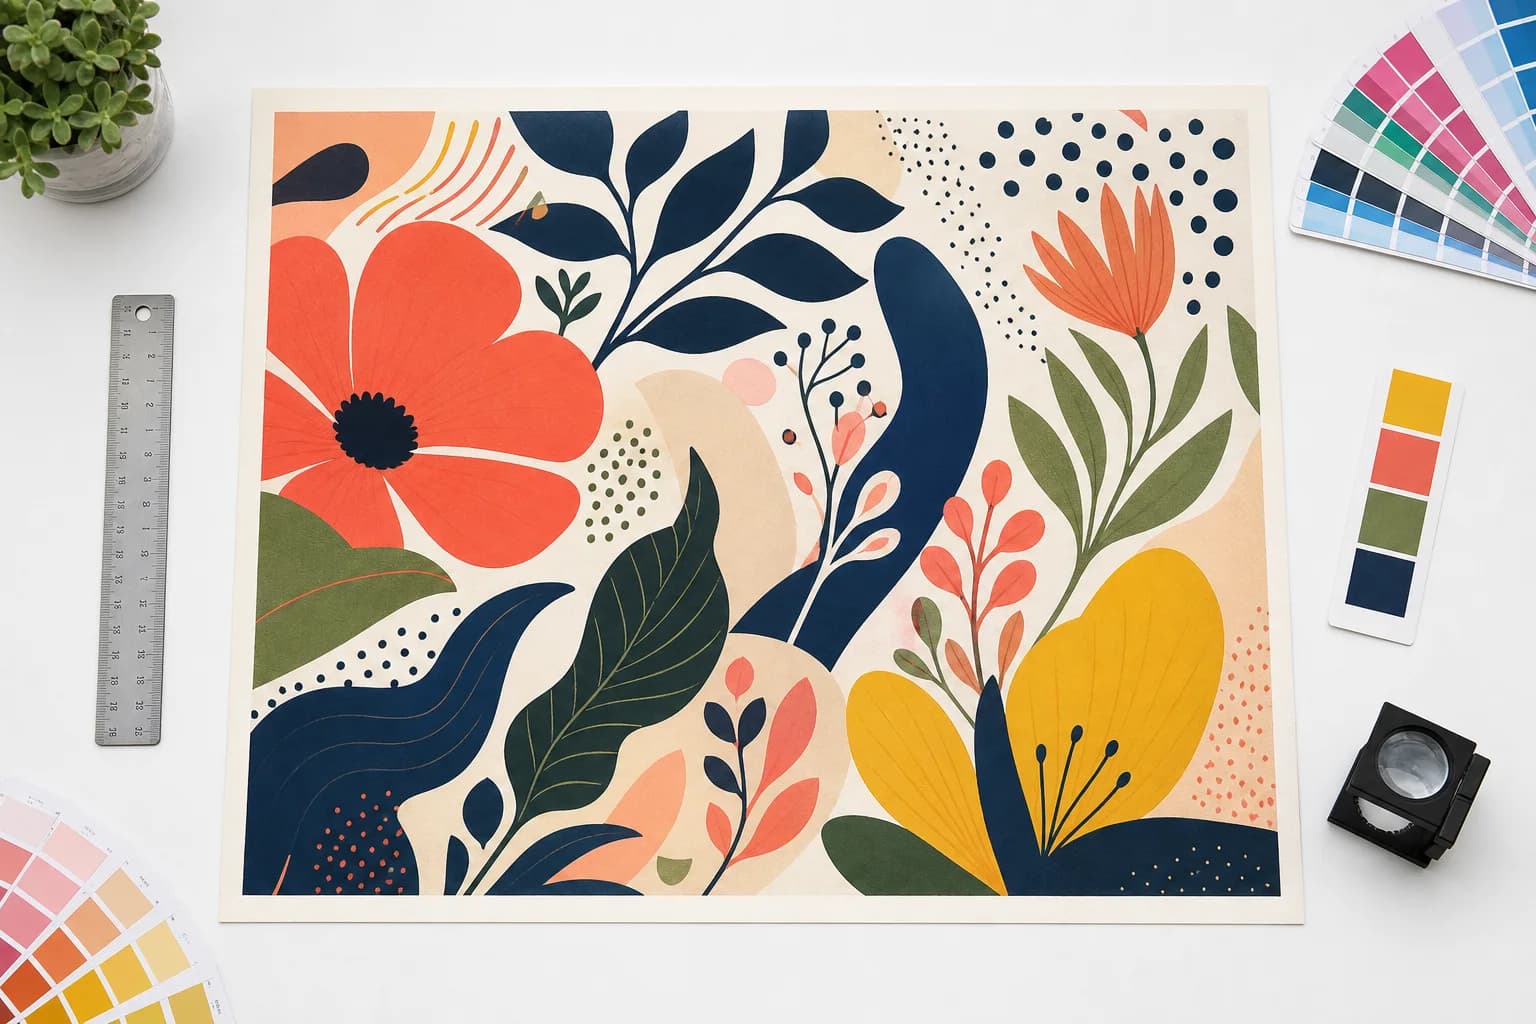
Bleed, trim, and safe zone are three different boundaries in a print file. They sound like shop jargon, but they answer a simple question: what happens when a physical blade, cutter, or finishing process is not perfectly aligned to the artwork preview?
If artwork stops at the exact cut edge, a tiny shift can leave a white line. If text sits too close to the edge, it can be clipped. If the exported file has no clear trim size, the printer has to guess what the customer meant.
This guide explains the three boxes in plain language so customers, designers, and shop teams can talk about the same file without turning every order into a prepress lesson.
Start with the related workflow: Make an AI image print ready. Follow the production workflow from source image to verified handoff.
The three boxes
Trim is the final cut size. If a flyer is ordered at 8.5 x 11 inches, that is the trim size. Bleed is extra artwork that extends past trim, often 0.125 inches in the United States or 3 mm in many metric workflows. Safe zone is the inner area where important text, logos, faces, QR codes, and product details should stay.
The boxes work together. Background color or edge-to-edge imagery should extend into bleed. The final product ends at trim. Critical content stays inside the safe zone. When those boxes are respected, the printer has tolerance for small finishing shifts without damaging the design.
Related production guidance: Run a free preflight check. Check the file before choosing fixes or export settings.
Why trimming is not perfect
Printing is physical. Paper stacks shift. Roll material can wander. Stickers, signs, banners, and cards can move during finishing. Even good shops have tolerances, so a file that depends on a perfect cut is fragile.
Bleed is not there because printers enjoy extra rules. It exists because production needs a margin of error. The customer never sees most of the bleed when the piece is finished, but the printer needs it to avoid exposed paper or unprinted edges.
Related production guidance: AI image to print-ready file. Turn generated artwork into a shop-friendly export.
How much bleed to use
Many common print products use 0.125 inches of bleed on each side. Some platforms and regions ask for 3 mm. Some specialty products, canvas wraps, banners, and packaging can require more. The correct bleed is the printer's requirement, not a universal number.
A prep tool should default to common bleed values but let the product preset or printer spec override the default. It should also show the final trim and bleed size so the user understands why the exported PDF is larger than the finished product.
Related production guidance: DPI explained. Understand the resolution number behind the report.
Safe zone decisions
Safe zone protects meaning. Backgrounds can go into bleed, but business names, phone numbers, faces, labels, and QR codes should not sit on the cut edge. Safe-zone rules are especially important when AI images include fake signage, generated text, or important subjects near the border.
When a file fails the safe-zone check, the right fix is often crop and reposition rather than upscale. Moving the image within the trim box can preserve important content without inventing new pixels.
Related production guidance: Logo repair and vectorization. Rebuild logos that should not remain low-resolution raster artwork.
How to explain it to a customer
The customer-safe version is: bleed is extra picture outside the cut, trim is where the piece gets cut, and safe zone is where important content should stay. A report should show those three areas visually and explain the likely outcome if the file ignores them.
Avoid scolding. Most customers did not forget bleed; their design tool or AI generator never made the physical boundary obvious. A good workflow turns that confusion into a specific next action: extend the edge, choose contain, reposition the image, or accept a border.
Related production guidance: Print shop proofing software. Connect the prepared file to comments, versions, and customer approval.
What to check before export
Before export, confirm the trim size, bleed amount, and safe-zone risk. Check whether crop marks are needed. Some print-on-demand platforms add marks or impose their own templates, while many print shops expect a press PDF with clear page boxes and marks.
The final report should state the trim size, bleed size, output dimensions, fit mode, crop position, and whether crop marks were added. Those details help the printer understand the file without reopening the original design.
Product examples
Business cards and flyers usually need clean bleed on all four sides because they are trimmed from larger sheets. Posters can also need bleed, especially when the artwork runs to the edge, but a white-border poster may not need the same treatment. Stickers add another layer because the cut can follow a contour rather than a rectangle.
Canvas wraps and banners are different again. A canvas may need image content that wraps around a stretcher frame. A banner may be viewed from farther away, so safe-zone decisions around grommets, hems, and pole pockets can matter more than close-up DPI. The file should always be judged against the product, not a universal template.
How reports reduce back-and-forth
A customer often hears 'add bleed' as a vague instruction. A good report can say the file is 8.5 x 11 inches at trim, needs 0.125 inches of bleed, and currently has artwork ending at the cut line. That turns a confusing rejection into a visible fix.
For shops, that report becomes a reusable explanation. Instead of writing a custom email every time, the CSR can send the scan result, ask for approval, or run the file through prep with the customer's consent.
Fast checks for AI artwork
AI artwork deserves extra edge review because generated images often place important content close to the border. Faces, fake text, signatures, decorative frames, and product details can sit exactly where the trim or safe-zone rule becomes risky. A human should inspect those areas before approving the export.
If the edge cannot be extended cleanly, a border can be more honest than a bad bleed. The report should make that option feel acceptable: a clean intentional border is better than a full-bleed print with missing content or invented edge artifacts.
How to prepare the file
- 1Set the final trim size for the product.
- 2Apply the printer-required bleed value or choose the product preset.
- 3Extend background artwork into the bleed area.
- 4Keep important content inside the safe zone.
- 5Preview crop marks and trim edges before export.
- 6Download the prepared file with a report that lists trim, bleed, and safe-zone assumptions.
Check the next production decision: Logo repair and vectorization. Rebuild logos that should not remain low-resolution raster artwork.
Questions
Is bleed part of the final size?
No. Bleed is outside the final trim. It is cut away or wrapped during finishing, depending on the product.
Can I skip bleed if the background is white?
Sometimes. If the product has a white background and no edge-to-edge art, missing bleed may not matter. The report should distinguish that from a file with colored or photographic edges.
Do crop marks replace bleed?
No. Crop marks show where to cut. Bleed supplies extra artwork beyond that cut.
What if my image has no extra edge to extend?
Start with a smaller crop, border, or mirror bleed. Use generative bleed only when the edge content can be extended without looking fake, then inspect the generated result before production.
Why do printers use different bleed sizes?
Products, equipment, materials, and regional standards differ. Always follow the printer or platform requirement when it is known.
What should I do if I cannot add bleed?
Use a clean border, reduce the crop, or ask the printer whether the product can run without edge-to-edge artwork. A deliberate border is safer than a file that pretends to have bleed.
Connect the file to approval: Print shop proofing software. Connect the prepared file to comments, versions, and customer approval.
Run a free scan