Print production
Bleed vs. trim vs. safe area: the practical print guide
Understand the boundaries that protect edge-to-edge artwork, finished dimensions, and critical content during printing and cutting.
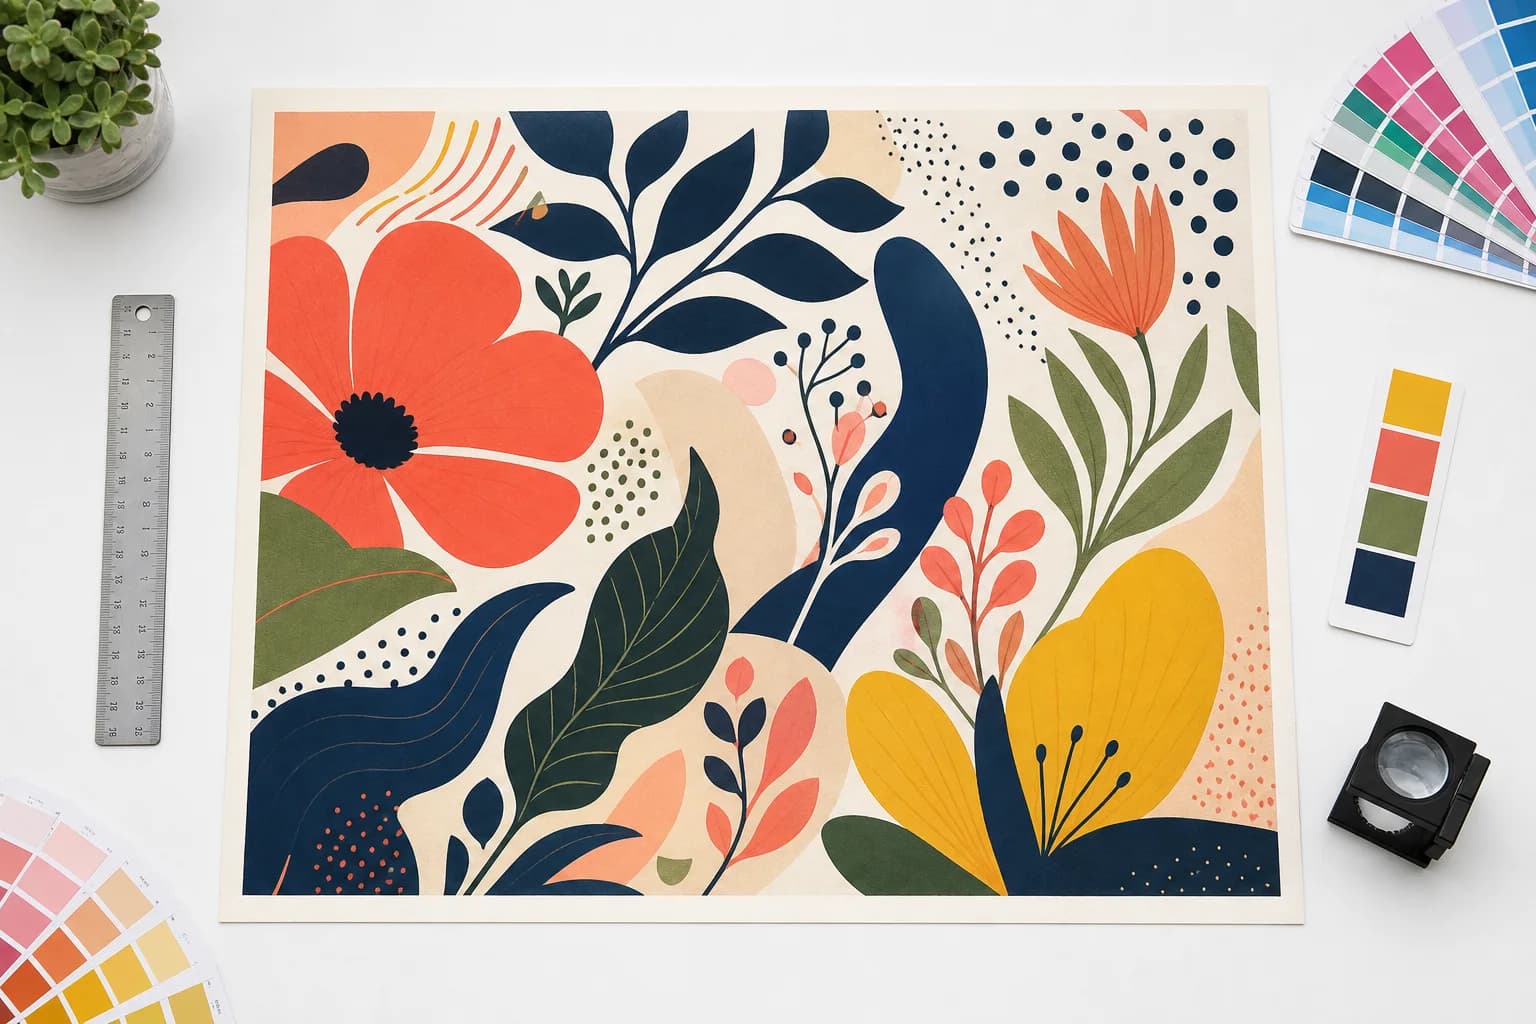
Bleed, trim, and safe area describe three different zones. Bleed is extra image that gets cut away. Trim is the intended finished edge. The safe area is an inner buffer for content that must survive normal production variation.
Confusing those zones causes white slivers, clipped text, off-center borders, and last-minute file rejections. A reliable file shows each boundary separately and uses the printer's template as the authority.
Bleed protects an edge-to-edge design
Physical cutting is not perfectly aligned to the pixel. When ink should reach the finished edge, background artwork extends beyond trim so a small cutting shift still lands on printed material. Adobe describes bleed as artwork outside the printing bounding box that provides margin for trimming.
Do not move important content into bleed. It is disposable production area. Extend backgrounds, photographs, or simple textures through it, and inspect any AI-generated extension for repeated objects or invented details. The amount varies by provider, product, and finishing method, so confirm the template.
Related production step: Use the bleed size guide. Check common finished and bleed dimensions.
Trim is the promised finished size
A 4 by 6 postcard should finish at 4 by 6 even when the exported PDF page is larger because it includes bleed and marks. The trim box tells the production system where the customer expects the edge. Crop or trim marks can communicate that line when the provider requests them.
Marks are not decoration. Some automated platforms add their own and explicitly do not want marks in the uploaded file. Place marks outside bleed so they cannot print inside the finished piece, and follow the receiving printer rather than copying settings from an unrelated vendor.
Related production step: See the full boundary guide. Review visual and production examples.
Safe area protects the business message
The safe area sits inside trim. Phone numbers, QR codes, prices, faces, dates, logos, and legal copy belong there. A safe area does not guarantee perfect centering; it reduces the chance that normal trim or finishing variation damages essential content.
Borders make small shifts especially visible. A thin frame that is mathematically centered can look uneven after cutting. Either give the border generous distance from trim, make it intentionally substantial, or remove it. For folded, bound, grommeted, or wrapped products, hardware and finishing zones may require more room.
Related production step: Bleed definition. Share a plain-language explanation with customers.
Build a handoff the next person can verify
A production-ready handoff should contain one clearly named current file, the finished dimensions, the expected bleed, and a short record of what was checked. If a warning remains, describe the decision instead of hiding it. For example: the customer accepted 170 effective PPI because the banner will be viewed from across a room. That note is more useful than a folder containing five unexplained exports.
Keep the editable source separate from the approved output. The source is where future changes belong; the approved PDF, PNG, TIFF, SVG, or machine file is the artifact that moves into production. When a revision arrives, create a new version and preserve the approval trail. This small discipline prevents an old attachment, an unapproved crop, or a mystery color conversion from becoming the file that gets printed. It also gives estimating, customer service, prepress, and production the same answer when a job returns.
Related production step: Open a business-card preset. Apply the three zones to a close-viewed product.
Production checklist
Put this into practice
- 1Download the exact product template from the receiving printer.
- 2Set the trim to the finished product dimensions.
- 3Extend edge-to-edge backgrounds through the required bleed.
- 4Move critical content inside the template's safe area.
- 5Export marks only when the receiving workflow requests them.
Frequently asked questions
Does a print-ready check replace the printer's proof?
No. Preflight reduces technical risk, while the printer's proof remains the final approval for stock, ink, finishing, placement, and production-specific tolerances.
Should I keep the original artwork?
Yes. Keep the untouched source and create a separate prepared output so a crop, color conversion, or bleed extension can be revised without damaging the original.
Check the actual artwork
Turn the article into a production decision.
Run a free scan, choose the finished size, and review DPI, bleed, crop, color, transparency, and file integrity before the job reaches a printer.
Run a free scan