Artwork prep
How to fix a low-resolution image before printing
Use final-size math, careful upscaling, crop review, and honest fallback choices to rescue weak artwork without faking detail.
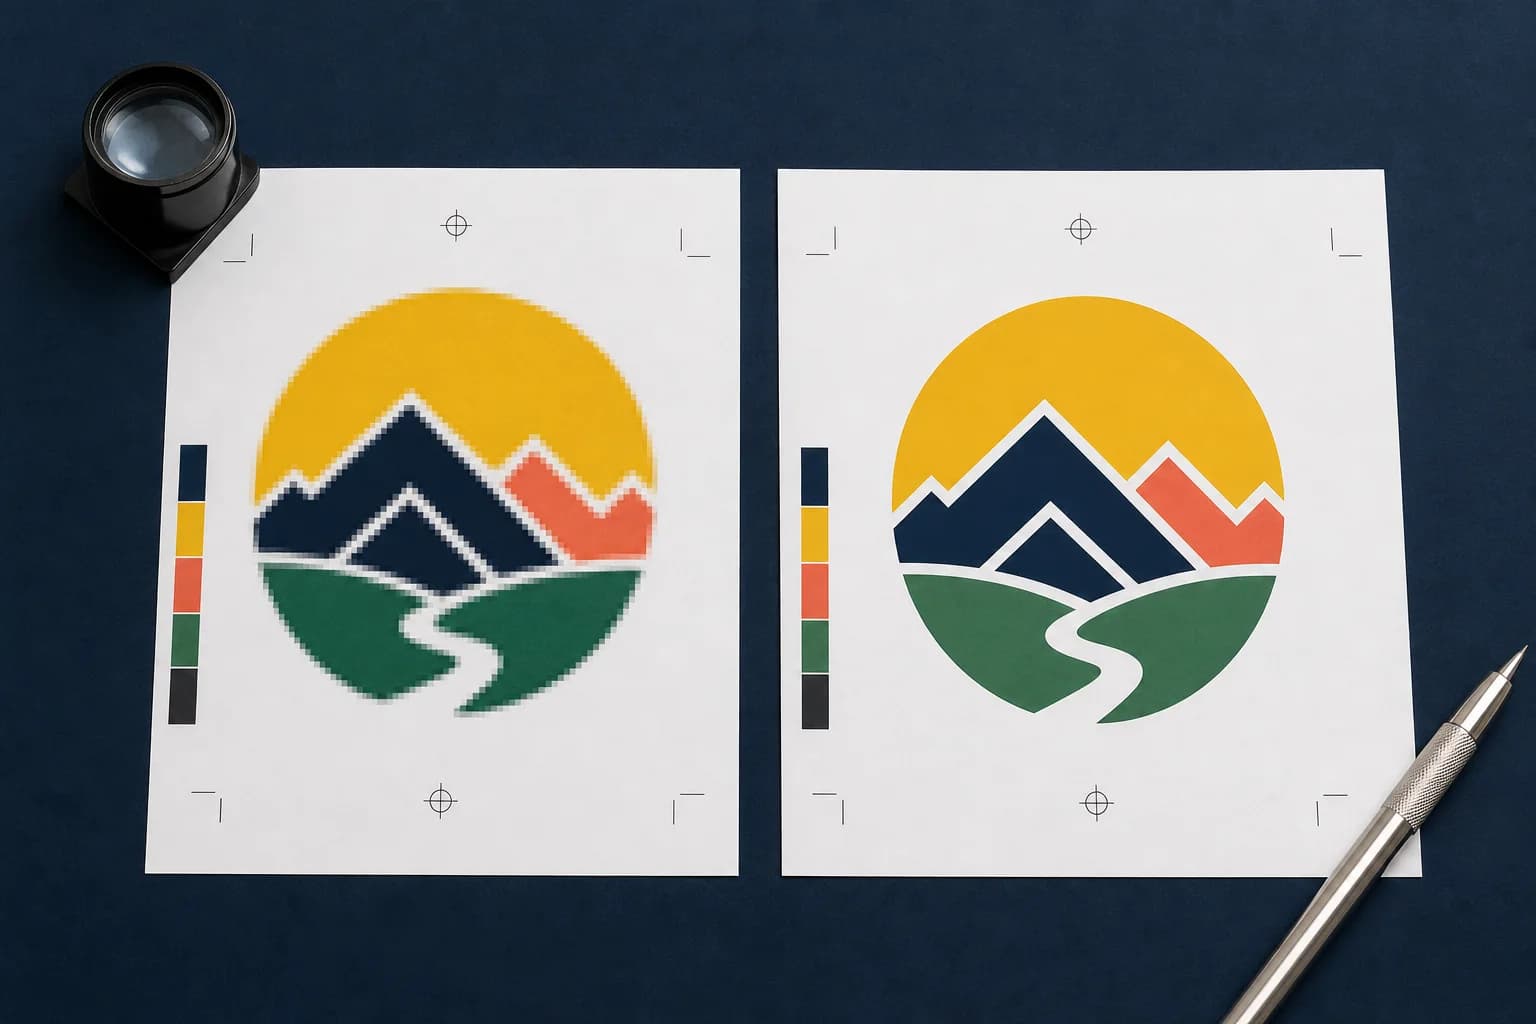
Low resolution is not a single yes-or-no property. It is the relationship between available pixels, printed dimensions, placement, viewing distance, and the kind of detail the artwork contains. The first fix is therefore a measurement, not an upscale button.
Once the effective resolution is known, choose the least risky option: print smaller, find a better source, rebuild vector elements, upscale and inspect, or redesign the placement. A good workflow is allowed to conclude that the requested size is not supportable.
Find the real source and remove avoidable loss
Look for the original export, camera file, design document, or generator output before editing a screenshot or social-media download. Messaging apps, websites, and repeated JPEG saves can reduce dimensions and add compression artifacts. Recovering the source often improves the file more than any algorithmic fix.
Check whether the image is being enlarged unnecessarily. A contain placement, a smaller crop, or a layout that uses the image as one element instead of a full background may preserve detail. Keep logos, text, rules, and QR codes as vectors or live elements rather than enlarging a flattened screenshot.
Related production step: Check a low-resolution image. See the practical options at a real output size.
Upscale only after setting the target
Calculate the pixel dimensions needed for the final placement, then choose an upscale that reaches that target without extreme invention. Compare the result at the intended printed scale and at 100 percent. Look for plastic skin, broken text, doubled edges, repeating texture, halos, and oversharpening.
AI upscaling is strongest on natural texture and weakest where exact identity matters. A plausible but incorrect product label is still incorrect. Rebuild critical text and marks separately, and keep the original available for comparison.
Related production step: Calculate effective resolution. Measure the gap before attempting a fix.
Use viewing distance as context, not an excuse
A banner read from twenty feet away can use lower effective resolution than packaging examined in hand. But large type, high contrast, and simple composition should still be clean. Test the design at approximate viewing distance and verify that the message, phone number, and call to action remain legible.
Document the accepted resolution and reason when output proceeds below a close-viewed target. That note creates a visible production decision instead of silently turning a warning green. It also helps the printer advise whether the material and device are appropriate.
Related production step: Request logo repair and vectorization. Rebuild logos and production art that should not remain raster.
Build a handoff the next person can verify
A production-ready handoff should contain one clearly named current file, the finished dimensions, the expected bleed, and a short record of what was checked. If a warning remains, describe the decision instead of hiding it. For example: the customer accepted 170 effective PPI because the banner will be viewed from across a room. That note is more useful than a folder containing five unexplained exports.
Keep the editable source separate from the approved output. The source is where future changes belong; the approved PDF, PNG, TIFF, SVG, or machine file is the artifact that moves into production. When a revision arrives, create a new version and preserve the approval trail. This small discipline prevents an old attachment, an unapproved crop, or a mystery color conversion from becoming the file that gets printed. It also gives estimating, customer service, prepress, and production the same answer when a job returns.
Related production step: Review yard-sign requirements. Connect resolution to large-format viewing distance.
Production checklist
Put this into practice
- 1Recover the highest-quality original source available.
- 2Set the final product size and calculate effective resolution.
- 3Reduce unnecessary enlargement or rebuild vector elements.
- 4Upscale to a defined target and inspect artifacts at printed scale.
- 5Choose smaller output or new artwork when the result is not credible.
Frequently asked questions
Does a print-ready check replace the printer's proof?
No. Preflight reduces technical risk, while the printer's proof remains the final approval for stock, ink, finishing, placement, and production-specific tolerances.
Should I keep the original artwork?
Yes. Keep the untouched source and create a separate prepared output so a crop, color conversion, or bleed extension can be revised without damaging the original.
Check the actual artwork
Turn the article into a production decision.
Run a free scan, choose the finished size, and review DPI, bleed, crop, color, transparency, and file integrity before the job reaches a printer.
Run a free scan