Guide
Can I make my AI image bigger for print?
Check how large an AI image can print, what upscaling can and cannot restore, and when a smaller size or new source is safer.
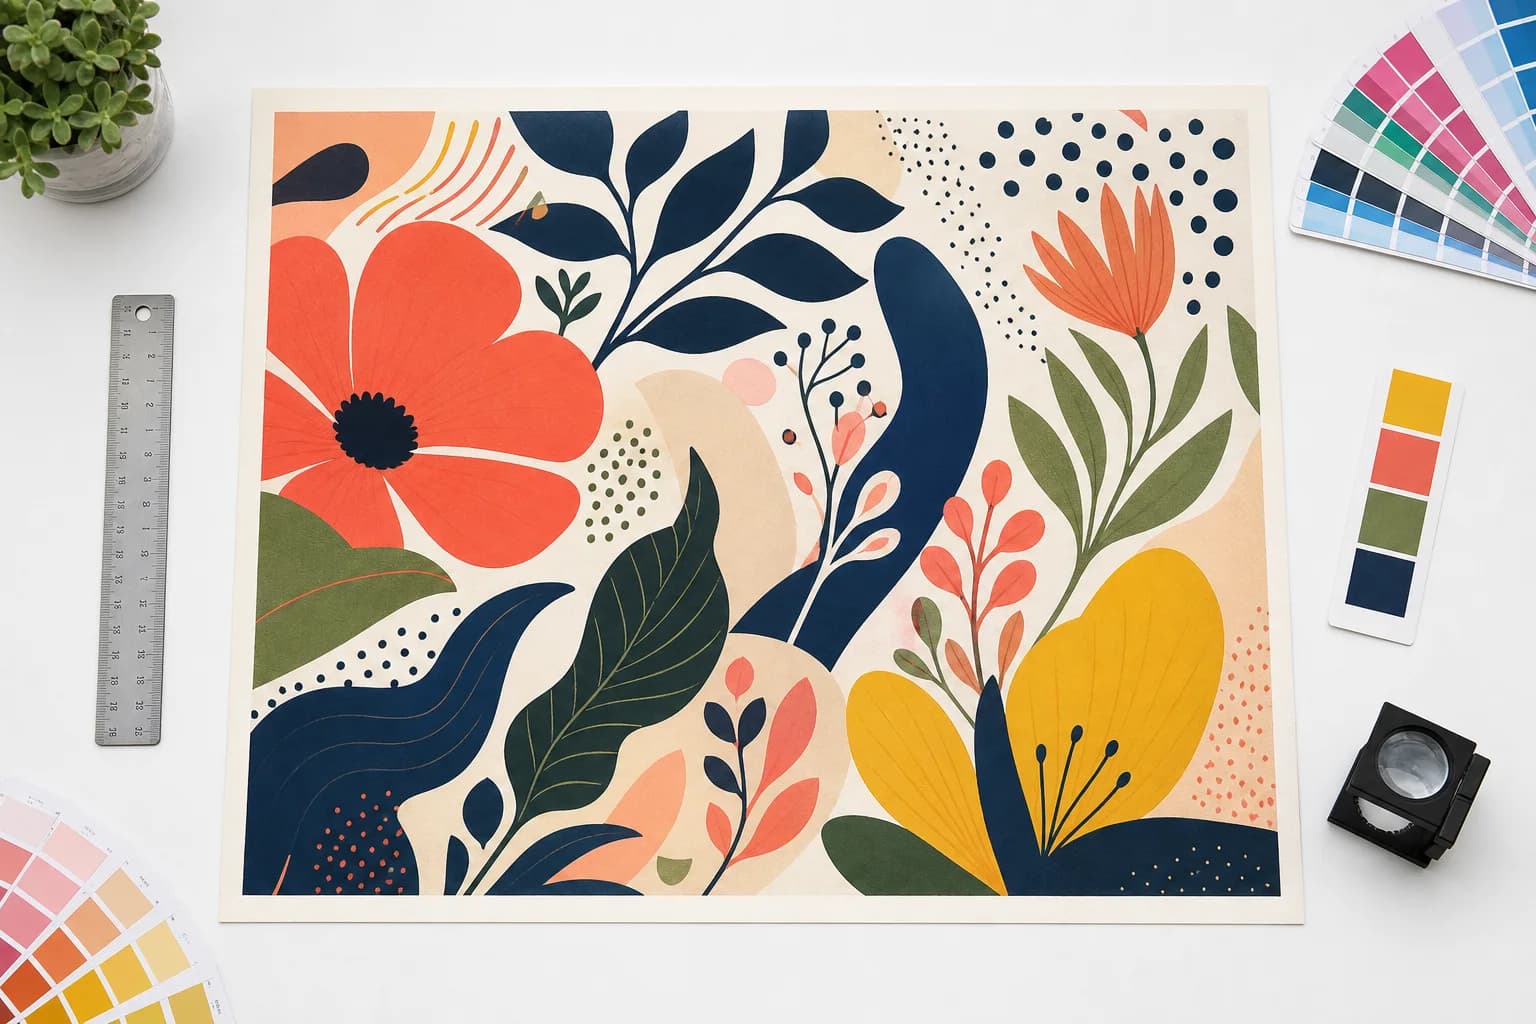
Yes, many AI images can be printed larger, but the useful answer depends on the source pixels, final inches, viewing distance, and content. Enlarging a file can add pixels; it cannot prove that the source contained the missing texture, lettering, or edge detail.
Use the free scan to choose the actual product and size first. The report shows native DPI, an honest enlargement ceiling, and whether the result is ready, fixable, best possible, or not advised before a paid operation runs.
Start with the related workflow: Make an AI image print ready. Follow the production workflow from source image to verified handoff.
Start with native resolution at final size
Divide the available pixels by the finished inches on both axes and use the lower number. A 3000 pixel edge can supply 300 DPI across 10 inches, 150 DPI across 20 inches, or about 38 DPI across 79 inches. Metadata that says 300 DPI does not change that arithmetic.
The appropriate target is product-specific. A handheld flyer is inspected closely, while a banner stand or backdrop is normally read from several feet away. The preset is a practical default, not a universal printer rule; the receiving shop can override it.
Related production guidance: Run a free preflight check. Check the file before choosing fixes or export settings.
What enlargement actually does
A crisp enlargement estimates additional pixels while trying to preserve the existing shapes and textures. A creative enlargement may interpret missing detail more aggressively. Both can improve an output, but neither is equivalent to a larger original capture or a new generation made at the correct aspect and resolution.
Large-format jobs can also exceed a provider's single-call size ceiling. The tiled stage divides an image into overlapping regions, enlarges them, and stitches the output. The report still states native and output DPI separately so the larger pixel count is not mistaken for original detail.
Related production guidance: AI image to print-ready file. Turn generated artwork into a shop-friendly export.
When best possible is an acceptable answer
A result below the ideal target can still be usable when its viewing distance is long enough. That is why the report includes a center detail crop and explains what the printer's Raster Image Processor may interpolate. Inspect the crop, then ask the receiving printer to judge it against the material and expected distance.
Best possible is not a guarantee. Close-viewed type, QR codes, thin line art, faces, or brand marks deserve more conservative treatment than a photographic background viewed across a room.
Related production guidance: DPI explained. Understand the resolution number behind the report.
When not to upscale
Do not automatically enlarge a tiny logo with text, a heavily compressed JPEG, garbled generated lettering, or artwork that must match established brand geometry. Those cases can become a larger version of the same defect.
Better options include printing smaller, returning to the original generator at the target aspect, rebuilding the layout from editable text and graphics, using native SVG regeneration for an interpretive logo, or requesting a human redraw when exact brand fidelity matters.
Related production guidance: Logo repair and vectorization. Rebuild logos that should not remain low-resolution raster artwork.
A production-safe decision path
Choose the product, final dimensions, and expected viewing distance. Run the diagnosis. If the source is ready, avoid unnecessary AI changes. If it is fixable, review the proposed operation and credit cost. If it is best possible, judge the 1:1 crop and confirm with the printer. If it is not advised, use the recommended alternative without spending credits on a doomed result.
After any enlargement, run preflight on the actual exported file. Confirm final pixels, trim dimensions, bleed, color handling, transparency, and the output format the printer accepts.
Related production guidance: Print shop proofing software. Connect the prepared file to comments, versions, and customer approval.
How to prepare the file
- 1Choose the actual print product and finished size.
- 2Run the free final-size scan.
- 3Compare native DPI with the product and viewing-distance target.
- 4Inspect the output-detail crop before approving enlargement.
- 5Use the recommended upscale, smaller size, regeneration, or redraw path.
- 6Preflight the finished export and send its report to the printer.
Check the next production decision: Logo repair and vectorization. Rebuild logos that should not remain low-resolution raster artwork.
Questions
Does changing a file to 300 DPI make it sharper?
No. Changing only the metadata does not create source detail. Final-size sharpness depends on pixel dimensions divided by printed inches.
Can tiled upscaling make a banner-sized file?
It can create output beyond a single provider's dimension ceiling, subject to the service safety limit. The result still needs a full-size crop review because interpolation cannot restore original detail.
Is lower DPI always bad?
No. Large-format work viewed from farther away commonly uses lower effective DPI than handheld print. The product, distance, content, and printer's house rules control the decision.
Connect the file to approval: Print shop proofing software. Connect the prepared file to comments, versions, and customer approval.
Run a free scan